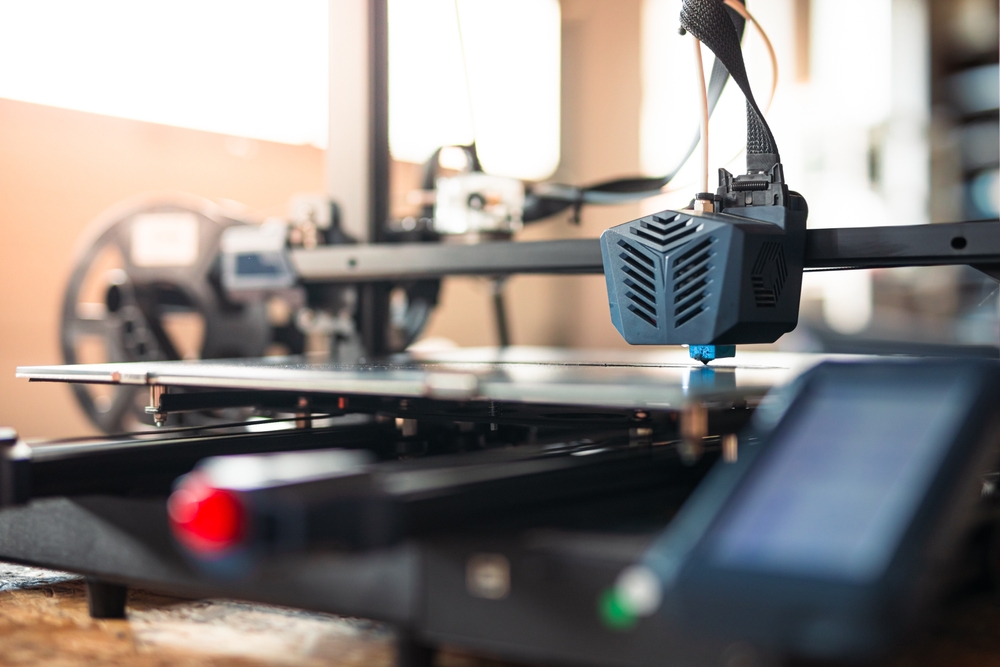
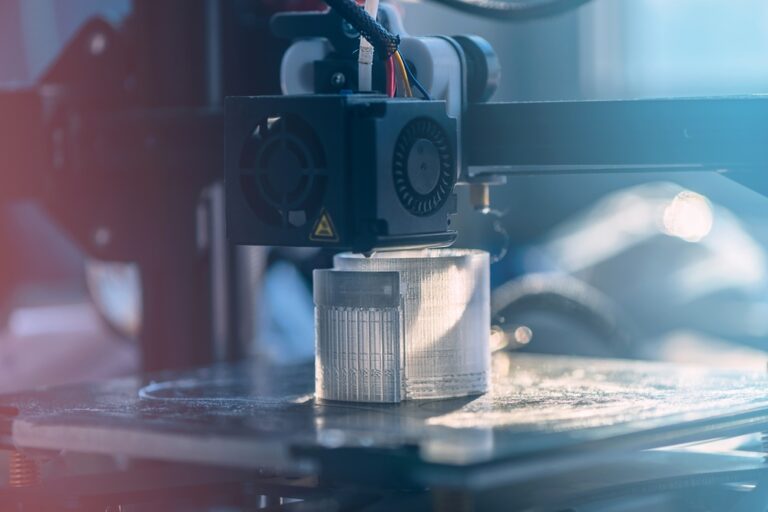
In the competitive world of product design, time and resources are precious. The ability to fine-tune 3D printing settings for each project can make a substantial difference in both the final product’s quality and the production speed. For product designers, understanding the nuances of printer settings is essential for maximizing efficiency, meeting tight deadlines, and staying within budget.
This guide will walk you through the essential printer settings to optimize your FDM (Fused Deposition Modeling) 3D prints—ensuring each prototype and low-volume production part meets functional and aesthetic standards.
1. Layer Height: Balancing Quality and Speed
- Key Considerations: Layer height is one of the most impactful settings regarding print quality and production speed. The layer height determines the thickness of each “slice” of material, affecting surface smoothness and the total print time.
- Best Practices: For highly detailed parts, go with a lower layer height (around 0.1-0.15 mm). This setting yields a smoother finish but can increase print time. A higher layer height (0.2-0.3 mm) can significantly reduce print time for functional prototypes where aesthetics are secondary.
Pro Tip: At Concept 274, we recommend choosing a middle ground for prototypes that require detail and speed—around 0.2 mm—especially for early-stage testing where rapid iterations are key.
2. Infill Density and Pattern: Ensuring Strength Without Wasting Material
- Key Considerations: Infill density affects the part’s internal structure, directly impacting strength and material use. Different patterns, like honeycomb or grid, can change the part’s weight and rigidity.
- Best Practices: For parts that will experience mechanical stress, an infill density of 20-40% is generally ideal. However, prototypes that serve only visual purposes can be printed with lower infill (5-10%) to save material and time.
Pattern Tip: Use a grid pattern for strength or a gyroid pattern for flexibility. Concept 274’s FDM services often apply varied infill patterns tailored to the structural needs of each project, optimizing both material use and durability.
3. Print Speed: Managing Accuracy and Production Efficiency
- Key Considerations: Print speed determines how quickly the filament extruder moves. While faster speeds reduce production time, they can sometimes lead to reduced detail or compromised layer adhesion.
- Best Practices: A speed range of 40-60 mm/s offers a balanced approach for most prototypes, combining accuracy and efficiency. A slower speed will provide more precision for parts with complex geometries or thin walls.
Insight: For projects that prioritize speed, Concept 274’s Bambu Labs X1-Carbon is ideal for achieving optimal results at higher print speeds without sacrificing too much quality.

4. Temperature Control: Finding the Sweet Spot for Material and Print Quality
- Key Considerations: Filament temperature affects the flow and adhesion of the material, which is critical for layer bonding and final surface quality. The optimal temperature varies depending on the filament type, such as PLA, ABS, or PETG.
- Best Practices: Always check the filament’s recommended temperature range. For PLA, a range of 190-210°C works well. To ensure better layer adhesion, ABS and other higher-strength materials require higher temperatures, usually around 230-250°C.
Concept 274 Suggestion: We regularly test temperature settings for different filament brands to find optimal parameters, which is especially useful for clients who need consistency across multiple prototypes.
5. Supports and Bridging: Maintaining Part Integrity on Complex Geometries
- Key Considerations: When a design includes overhangs or bridges, additional support structures may be necessary to prevent sagging or collapse during printing.
- Best Practices: Use supports sparingly to reduce post-processing time. For intricate parts, “tree supports” provide stability without excessive material use. Overhang angles up to 45° generally don’t need support, depending on the material and printer capability.
Efficient Support Use: Concept 274 often uses strategic support settings for complex parts to save material and ensure easy removal of support, minimizing cleanup and reducing client labor costs.
6. Build Plate Adhesion: Preventing Warping and Ensuring Stability
- Key Considerations: Proper adhesion to the build plate is essential to avoid issues like warping, especially for large or long prints. Options like rafts, skirts, or brims help with adhesion and part stability.
- Best Practices: A brim is usually enough for smaller prints to secure the part. Larger models benefit from rafts to counteract warping.
Special Case: Concept 274 applies temperature-controlled build plates to maintain adhesion and part accuracy throughout the print when printing with ABS or materials prone to warping.
7. Orientation: Optimizing Part Strength and Finish
- Key Considerations: The part’s orientation on the print bed impacts both strength and surface quality. For example, printing with the longest dimension parallel to the build plate minimizes support needs and reduces stress on thinner sections.
- Best Practices: Choose an orientation that maximizes strength along the axis where the part will bear the most load. Additionally, orienting flat surfaces parallel to the build plate provides a smoother finish.
Orientation Advice: Concept 274’s team consults with clients on orientation preferences, especially when balancing aesthetics with functional strength requirements.
Final Thoughts: Setting Your Project Up for Success
Choosing the correct 3D printing settings requires a clear understanding of the part’s intended use, material behavior, and printer capabilities. Each setting, from layer height to infill density, contributes to the final result, whether a simple prototype or a small-batch production part.
At Concept 274, we specialize in optimizing these settings for diverse product design needs. Our experience with FDM technology and Bambu Labs X1-Carbon allows us to guide clients toward the most efficient settings, ensuring top quality without sacrificing time or budget. By choosing Concept 274, product designers can focus on innovation while we handle the details that make each project successful.
Do you need help getting your next prototype? Contact us today for a consultation and see how we can streamline your 3D printing needs!


